
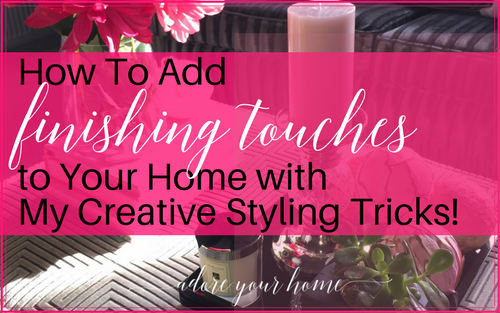
How To Add Finishing Touches To Your Home With My Top 4 Creative Styling Ideas!
Often I get people coming to me a little perplexed because the room that they spent money on getting it painted and decorated has left them feeling a little bit disappointed. All that money, living through the annoying inconvenience of the decorating and it just isn’t right!
Well, I can tell you that it is very likely because all the finishing touches are probably not in place! These make ALL the difference. They will compliment your room and bring everything together in a lovely stylish way.
It will just feel FINISHED!
They will also add the personal element to your home which is so important. You are unique, so should your home be. It shouldn’t look the same as a high street shop window!
So, I have put together some tricks I use and professional stylers use, to help you get started.
TIP 1: KNOWING YOUR STYLE
It’s really important to be aware of the style of the room you are looking to add finishing touches to. So, is it modern, minimal, traditional, retro or vintage? Is it industrial, luxurious or eclectic?
The point is that if you really know this, it will help you choose accessories that will look fab and not waste money on things that are wrong for your ‘look’. Even though they are nice in the shop, if they aren’t your particular style, they won’t work.
Lots of things look lovely in the shops, lots of the latest jungle and palm tree prints, but is that going to fit your rustic, cosy, country, natural room?!
That’s what I mean!
TIP 2: CREATE GROUPS OF THINGS – HERE’S HOW I DID IT
Dotting ornaments around the room does nothing more than make it looked cluttered. The biggest key to accessorising beautifully is to create little groups of items. I do it all the time. There is a general rule of 3 here, which means that 3 items look better than 2 or 4. There’s just something about odd numbers of things that inexplicably work.
And another top tip is to use things of varying heights within that group.
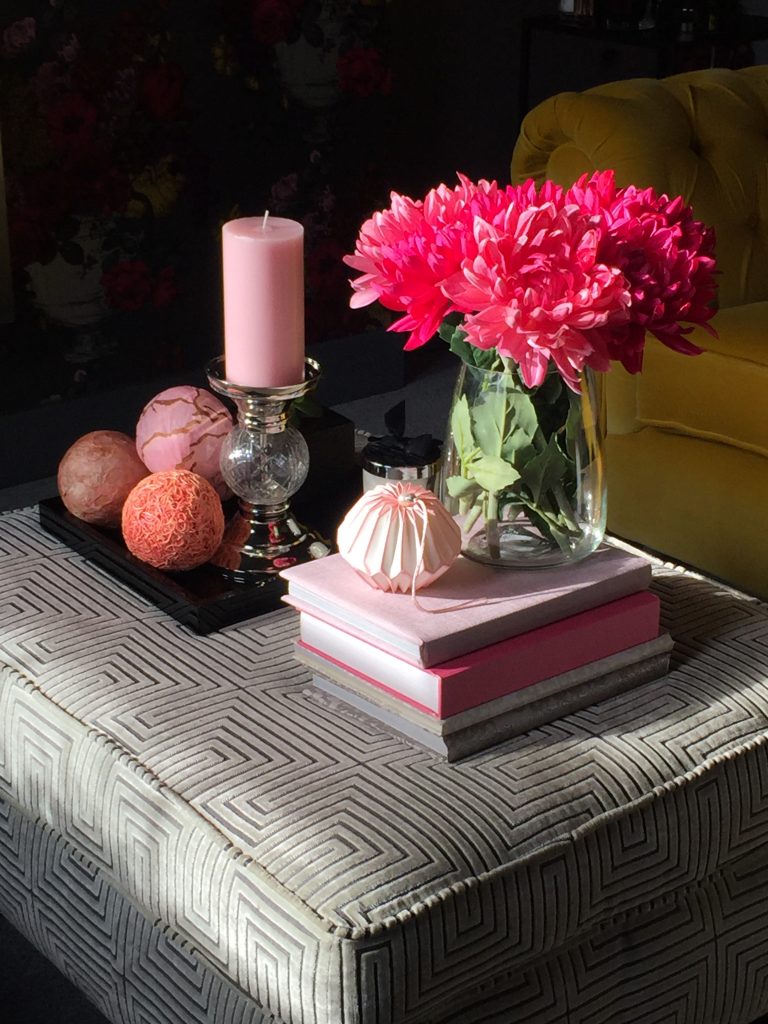
Here’s the sort of thing I mean from a room I accessorised. The style of the room was rather glamorous, classic contemporary which means new takes on old classic design.
So the things I chose for styling this ottoman, which sat between two sofas, were all rather classic shaped items.
– Glossy black tray (from Kelly Hoppen)
– Candle stand which helped give height to the candle (remember the different heights thing?!) and it is silver with a cut glass effect (not a rustic wood one which would be the wrong style)
– Pillar candle in the pink accent colour
– Small silver lidded perfume candle (my client’s own from Joe Malone – beautiful scent!)
– Traditional flowers
– Little green plant
– Books – which I actually backed with wallpaper!
– Cute paper balls and shaped items
So, together this makes a stylish little arrangement, all contained in one area which looked absolutely gorgeous and really added that finishing touch to the room. It just looked beautifully styled and finished…at last.
MY CREATIVE STYLING BOOK TRICK
Let me just share what I did with the books.
Now, books are great for styling, but only if the colours are more or less working with the rest of the room’s colour scheme. A few books also helps to add height and presence to the display…I placed the flowers on my book stack.
So, I reckoned I needed pink coloured hardback books, there were none in my clients home, so I thought about my options. I was going to source plain pale pink and white paper but this was unbelievably hard to find, and I hate wasting time on something.
I had an ‘ah-ha’ moment and came up with the quick, simple and free idea of using wallpaper. Now, I know it all sounds a bit naff and Blue Peter-like, but it really worked.
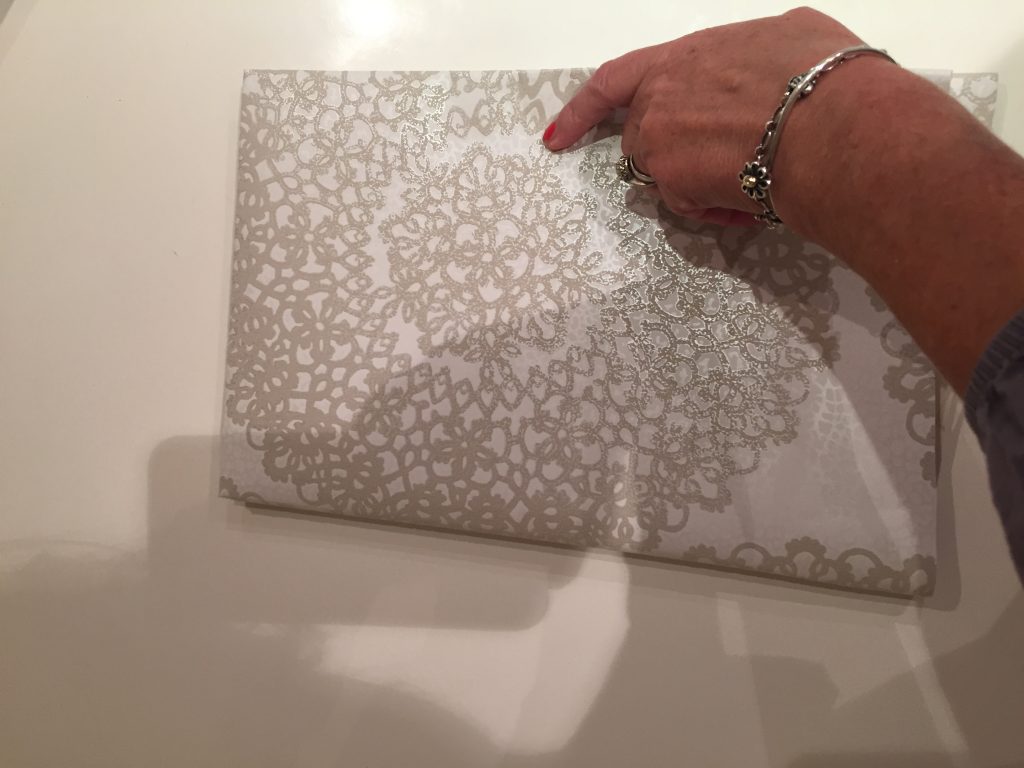
I raced into a big DIY store (B&Q), ran my eye up and down their wallpaper designs, ripped a few samples off the sample rolls (that they allow you to do, honestly, I did ask) and there I had my beautifully muted and textured book covers! I took some hard backed books of similar sizes and pretended to be at school again!
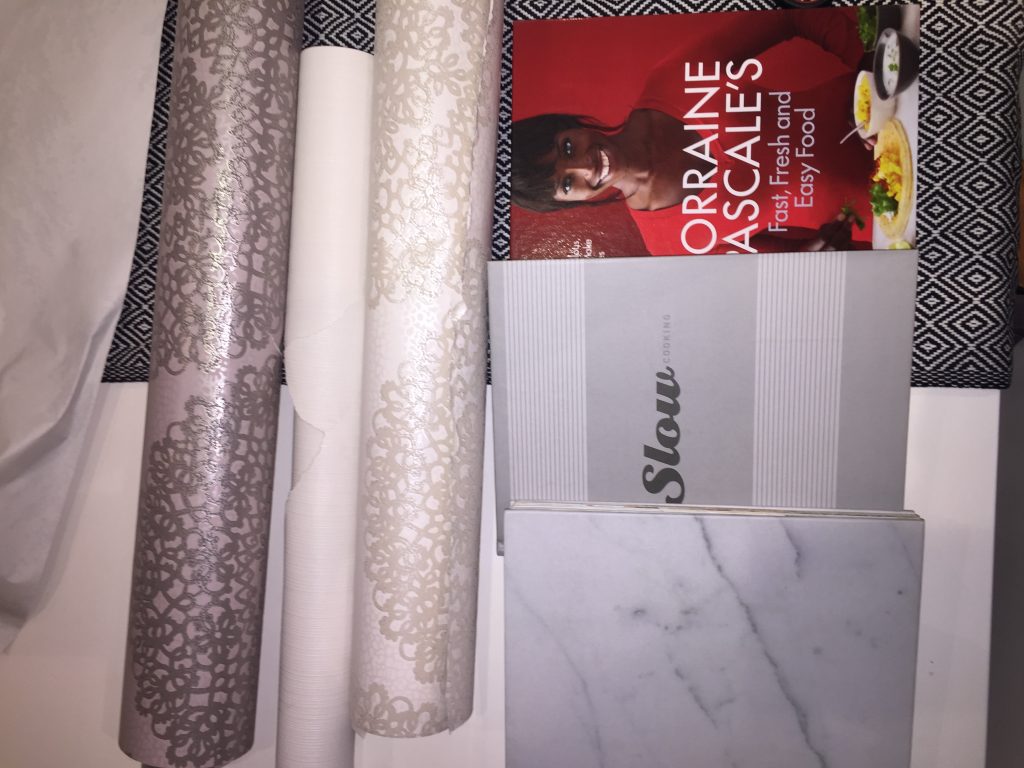
When I removed the dust jackets off one of the books I was pleasantly surprised that it had lovely marble effect cover (thanks Nigella) so no need to back it.?
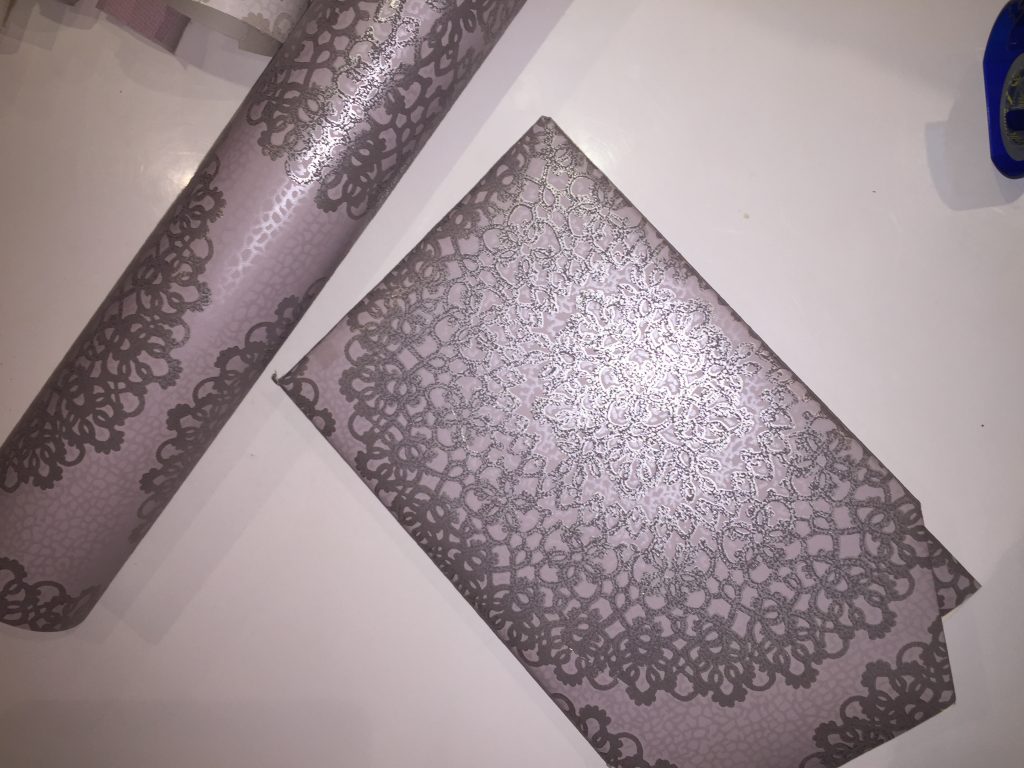
The very technical process underway!
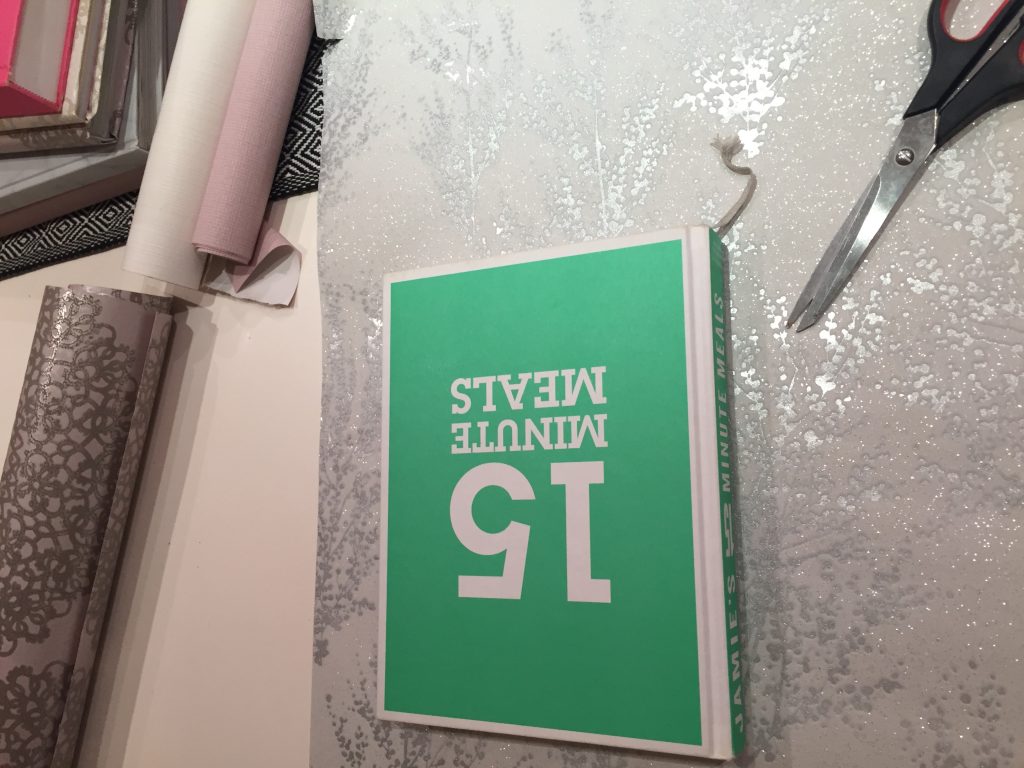
More recipe books getting the treatment – by the way, none of those recipes takes 15 mins, an hour would be more like it in my kitchen. Sorry, Jamie!
And the finished pile of books ready for my accessorising job.
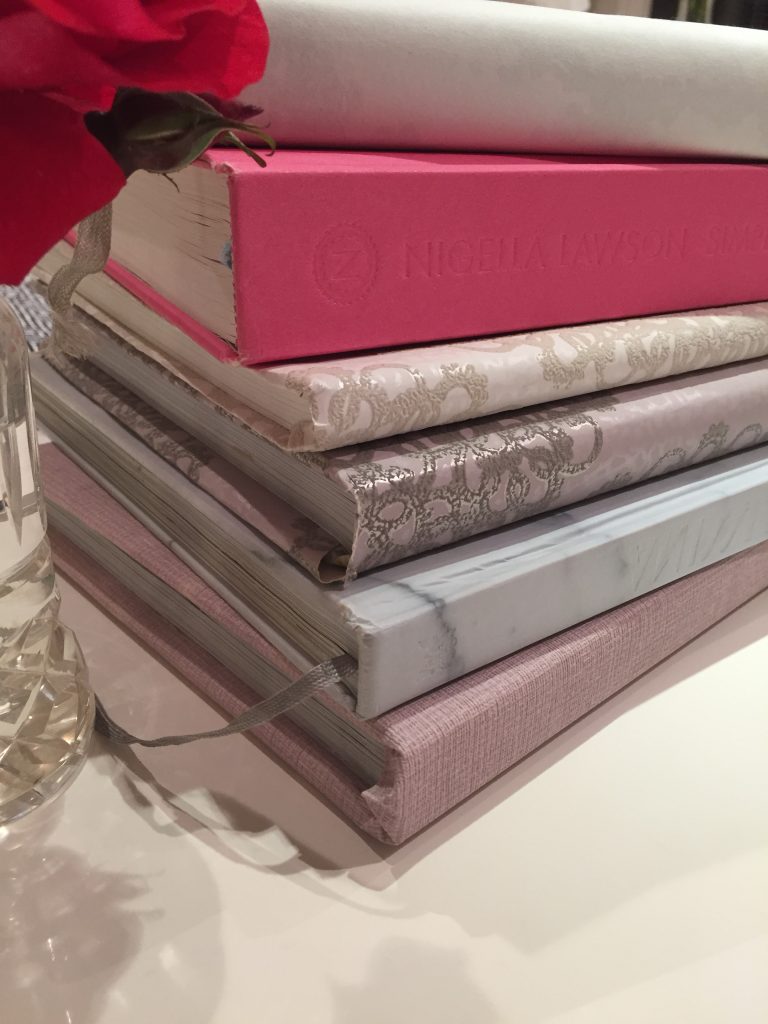
So there you are, a low budget way to enhance a grouping of accessories.
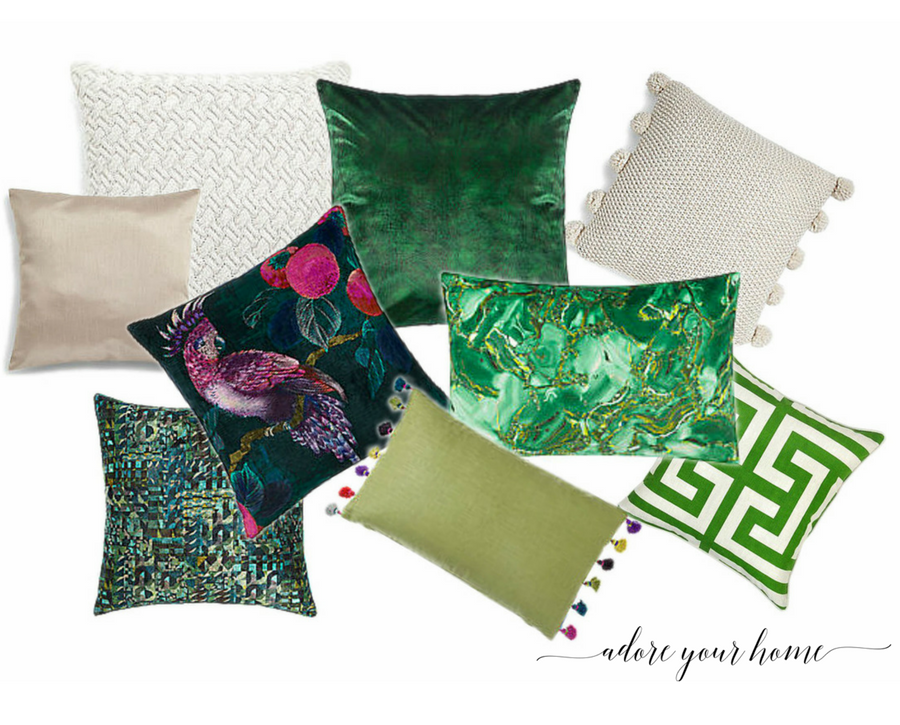
TIP 3: ACCESSORISE WITH DIFFERENT TEXTURES TOO – SOFAS
Just say you are choosing cushions for a sofa. You’ve spent the big money on it but it looks a bit flat in the room. What you shouldn’t do is buy two identical cushions and stick them in the corners, that won’t achieve very much.
And if they are made from the same sofa fabric, give them to an animal sanctuary. (Sorry)
One idea is to add ideally more than 3 (up to 6) and use different fabrics, but similar colours. You can also choose different shapes, not forgetting a little quirky one!
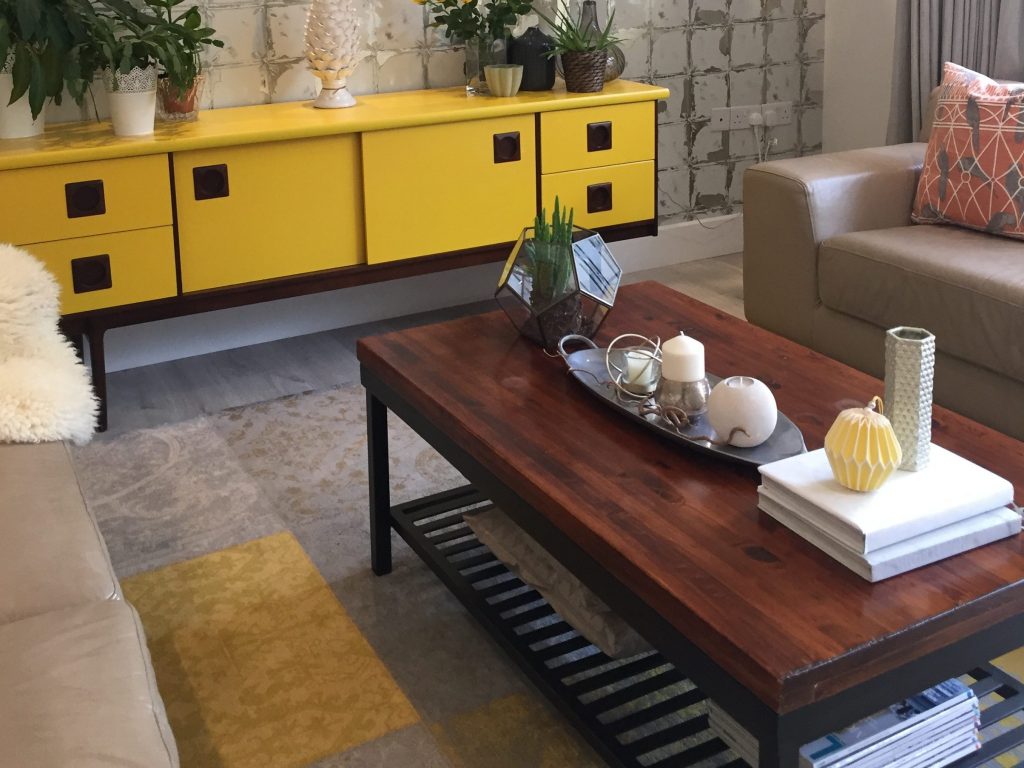
 Tip 4: COFFEE TABLE STYLING
While I’m on styling take a look at this next room. It is more casual and relaxed with a yellow accent colour. So I styled the coffee table in the same theme –
– A rectangular arrangement to echo the shape of the (rectangular) table
– More rustic tray, pewter, to put the objects on
– Simple neutral candles and organic twigs
– Neutral covered books to display the one yellow accessory
– Green living plant in the lovely terrarium at the other end. Simple.
Note the varying heights of things and the simple arrangement.
Looking at the picture I wish I’d stuck a few green stems in that tall hexagonal vase?
Hope that gave you some inspiration to look around your home and pull together some groups of your favourite things!
And if you haven’t already got my free ebooks, look below where you can sign up and you’ll also get my weekly (almost) newsletter with more inspiration of making an adorable home!


Recent Comments